Problem
I had to work out how to do this for a client, and as is my modus operandi, I'll try and save you some of the pain I endured,
Products Used
System Center Configuration Manager 2007
SP2
Windows Server 2008
R2
SQL 2008
R2 (At time of writing neither officially supported or not supported on SCCM)
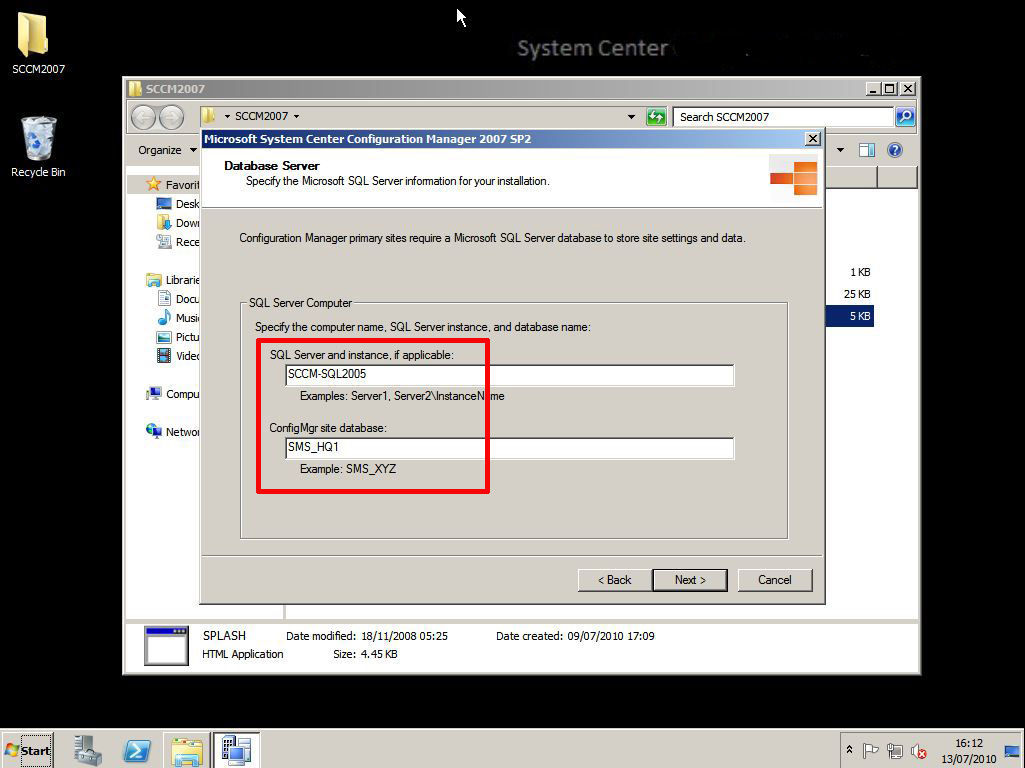
Note: I was originally going to
use SQL 2005 - hence the reason the SQL servers name is SCCM-SQL2005,
however I bit the bullet and used SQL 2008 R2 instead.
Solution
Step 1: SCCM Domain pre install work.
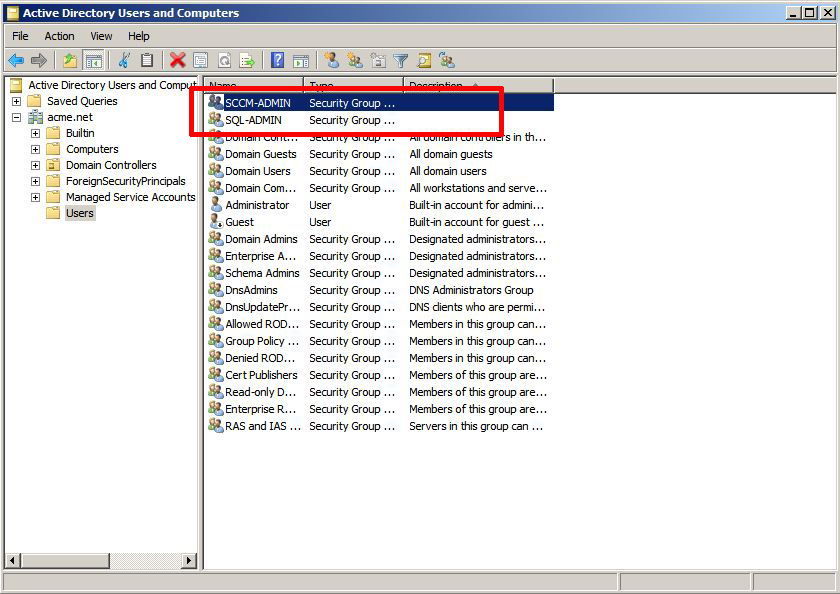
1. Create two groups in Active Directory.
a. sccm administrator group SCCM-ADMIN
b. sql administrator group SQL-ADMIN
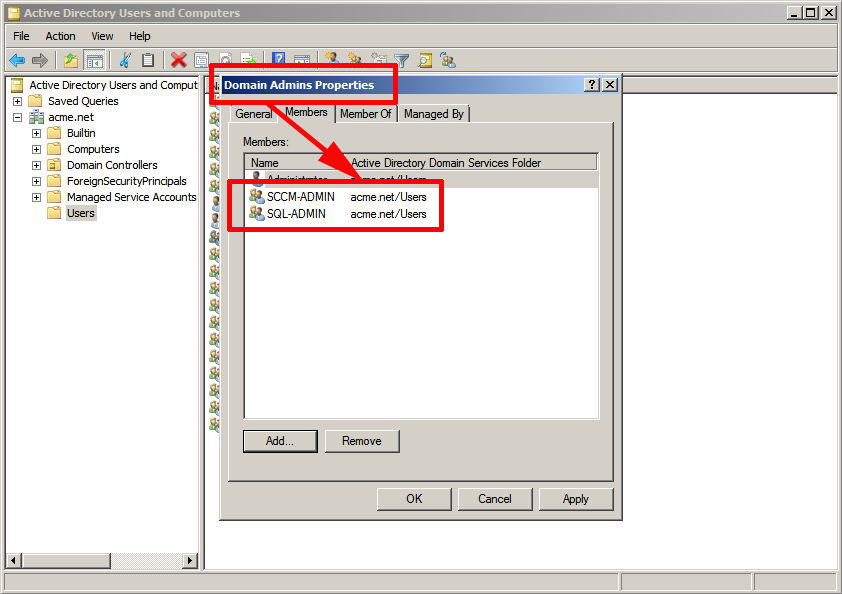
2. Add both groups to the Domain Admin's group.
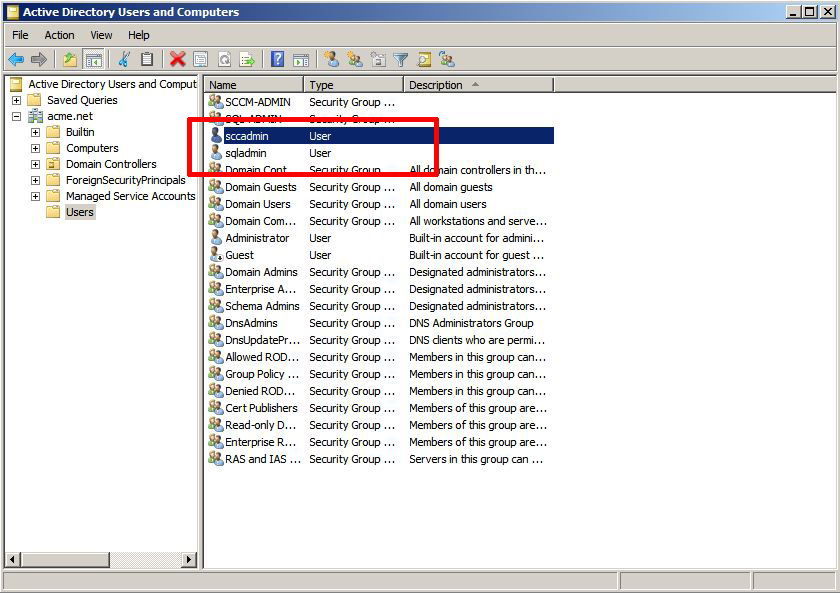
3. Create two new users: sccmadmin and sqladmin.
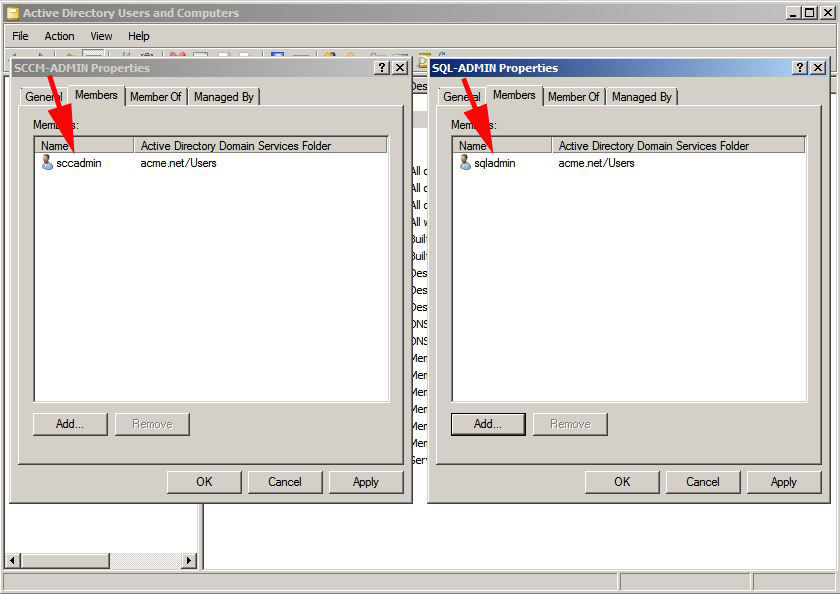
4. Add sccmadmin to SCCM-ADMIN group and add sqladmin to SQL-ADMIN group.
Step 2: SCCM Pre requisites
1. Add the
IIS (Web Server Role).
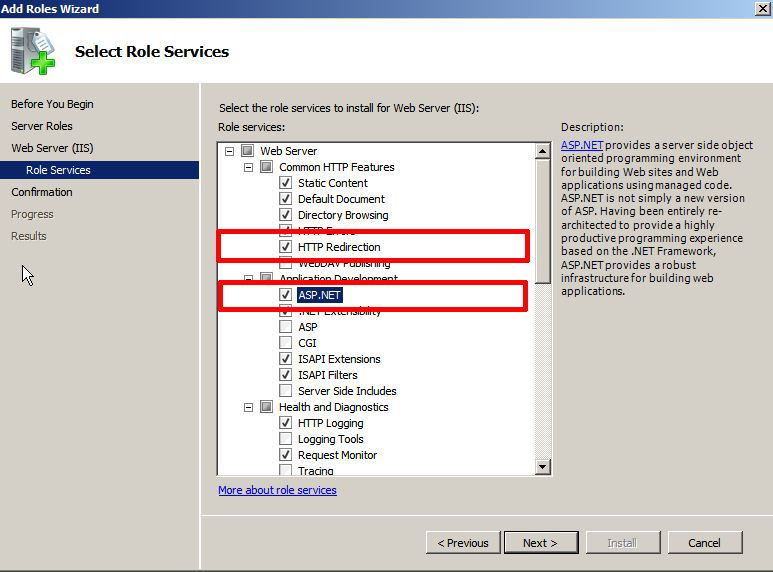
2. Add the following IIS Role Services:
a. HTTP redirection.
b. ASP.Net
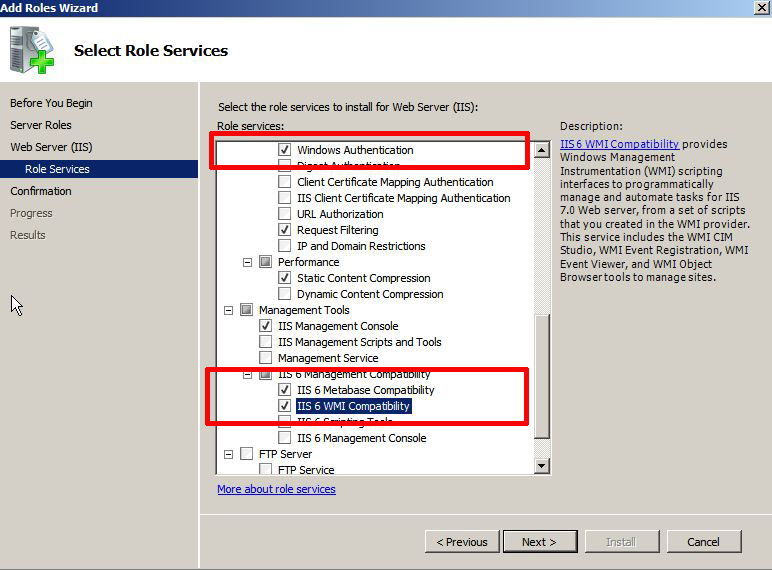
c. Windows Authentication.
d. IIS6 Metabase compatibility.
e. IIS6 WMI compatibility.
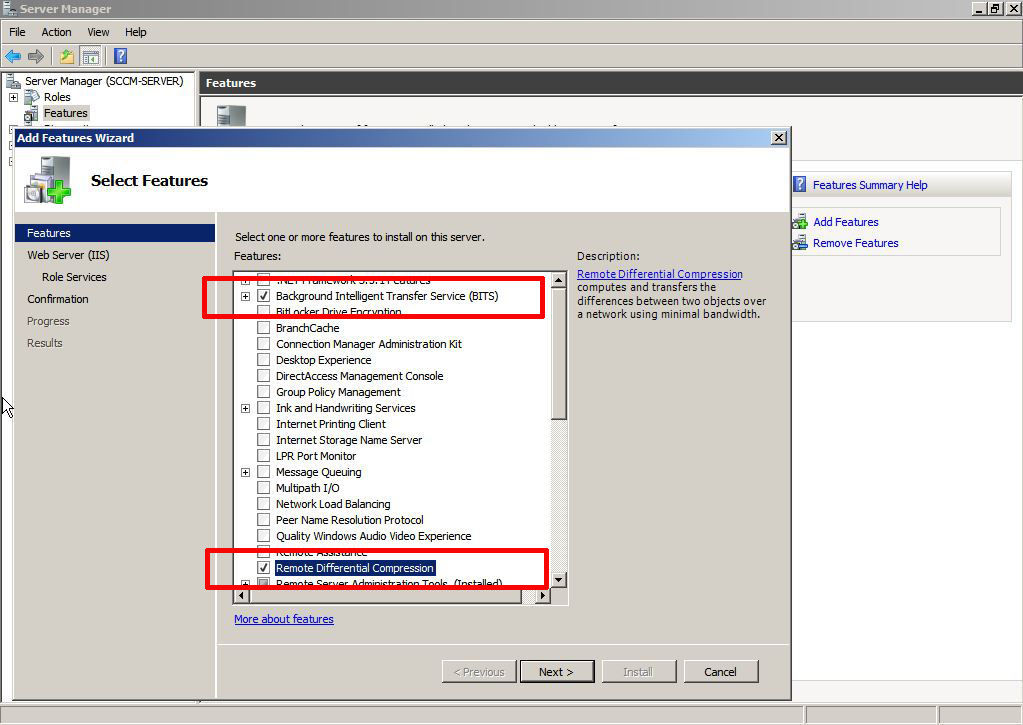
3. Add the following "server Features":
a. Background Intelligent Transfer Service.
b. Remote Differential Compression.
4. If you are
NOT running Windows Server 2008 R2 Download and install
WebDav (
already included in Windows Server 2008 R2). If you are running R2 skip to the next step.
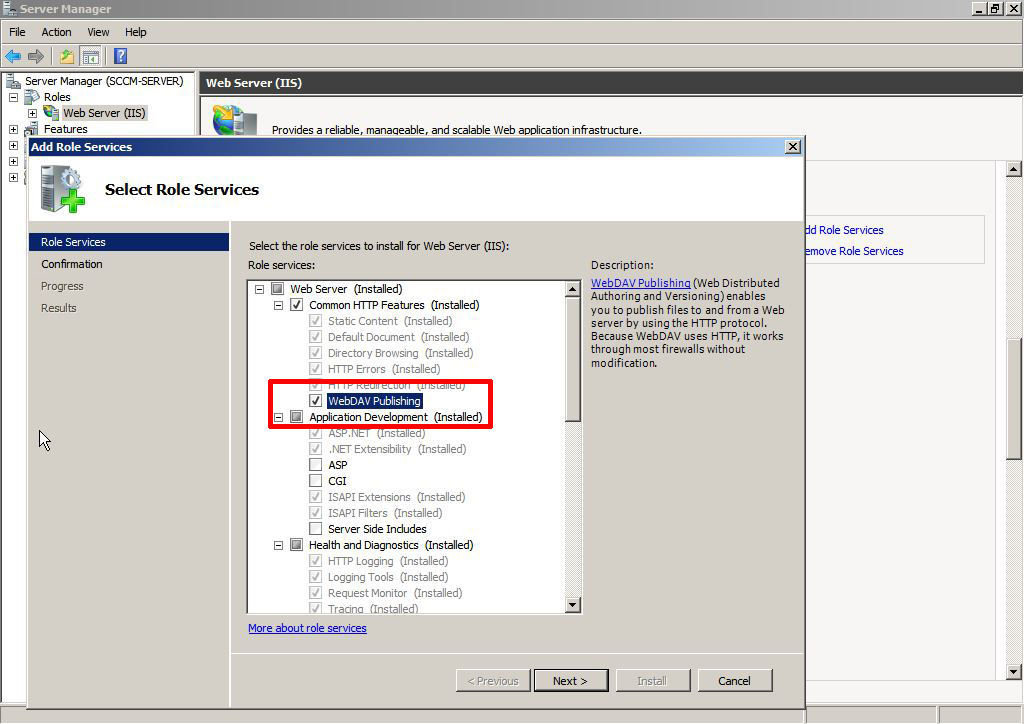
5. Server Manager > Roles > Web Server (IIS) > Add Role Services > WebDAV Publishing > Next > Close.
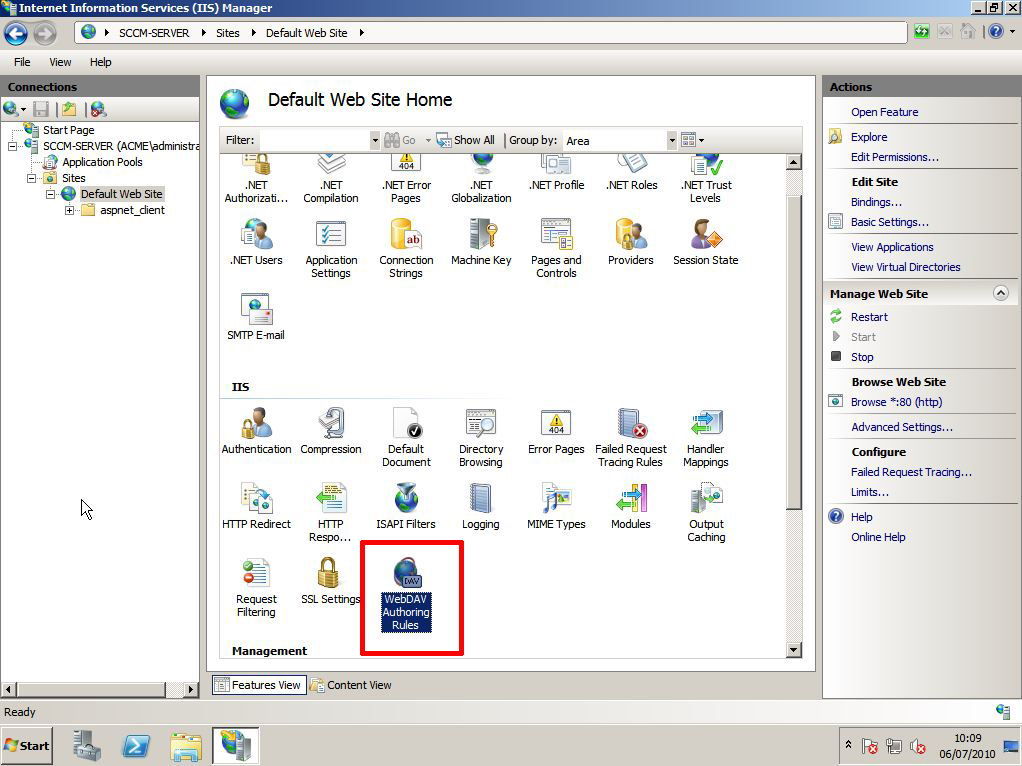
6. To enable WebDav > Start > Administrative Tools >
Internet Information Services (IIS) Manager > Expand {server name}
> Sites > Default Web Site > WebDav Authoring Rules.
7. Select Enable WebDav (On the right hand side).
8. Select add authoring Rule > All Content > All Users > Permissions > Read > OK.
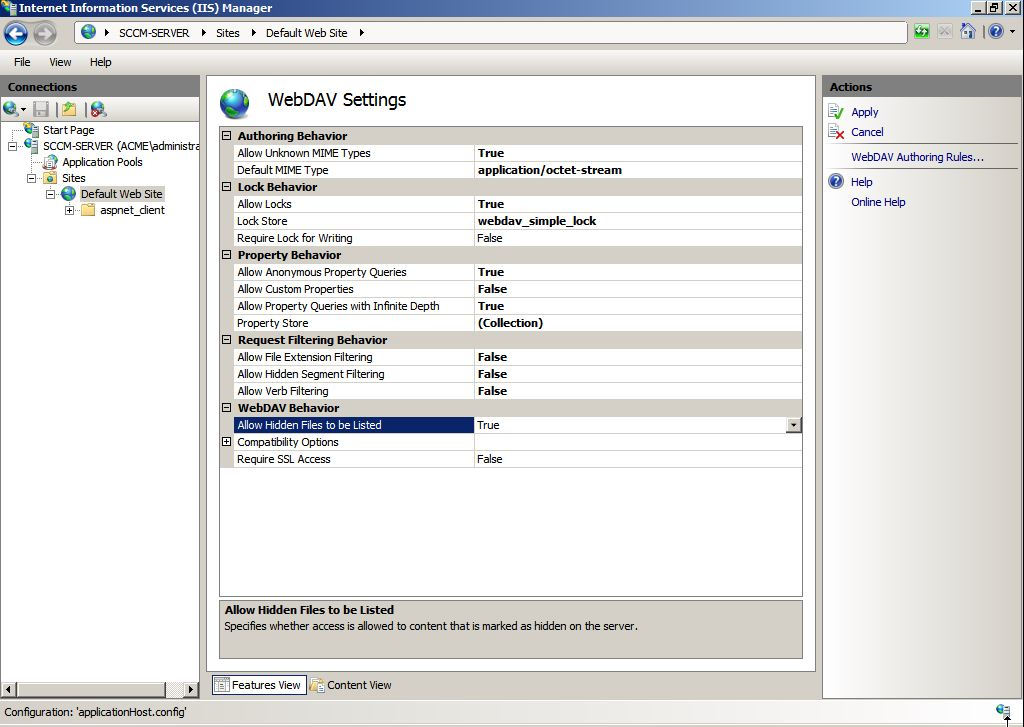
9. Select the rule you have just created > WebDav Settings.
10. Change "Allow Anonymous Properties Queries" to True >
Change "Allow Custom Properties" to False > Change "Allow Property
Query with Infinite Depth" to True > Change "Allow hidden files to be
listed" to True > Apply.
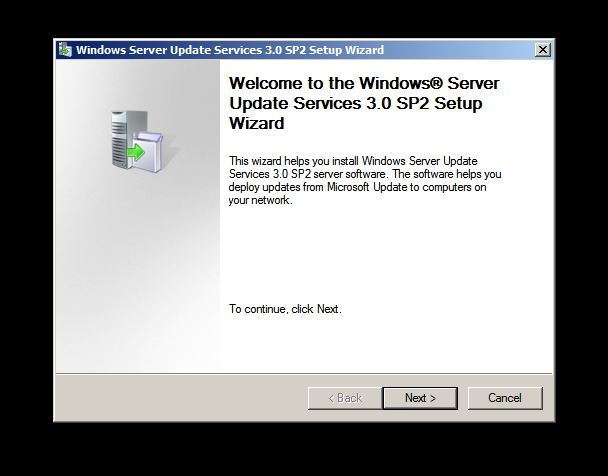
11.
WSUS needs to installed on the SCCM server - Note Server 2008 R2 needs (
WSUS Server Update Services 3.0 SP2). If you try and install SP 1 you will see
this error.
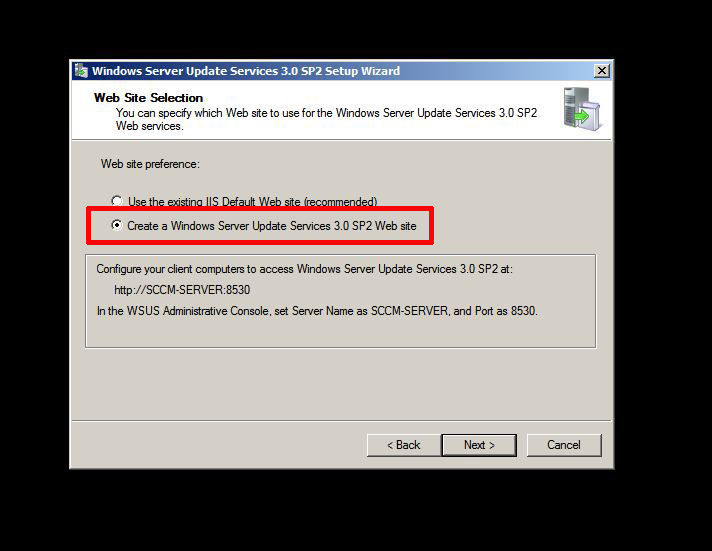
12. From the WSUS installation choose "Full server installation"
> DO NOT accept the default "Use the existing IIS Default Web site"
> Use ""Create a Windows Server Update Services 3.0 SP2 Web site" (
Note: this will use port TCP 8530 by default).
Step 3: SCCM Install SQL Server.
1. From the SQL install media run setup.exe > Installation
> "New Installation or add features to an existing Installation" >
OK.
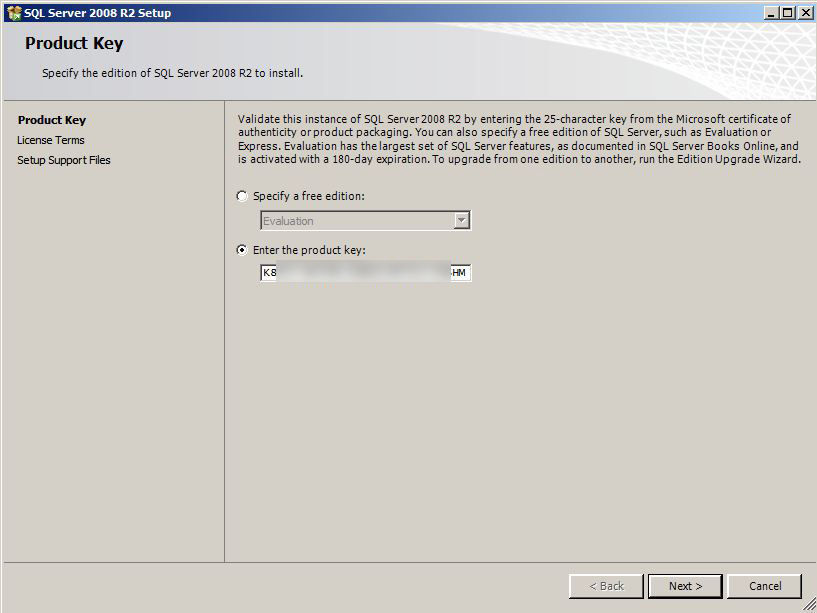
2. Enter product Key if applicable > Next > "I accept..." > Next > Install > Next > Next.
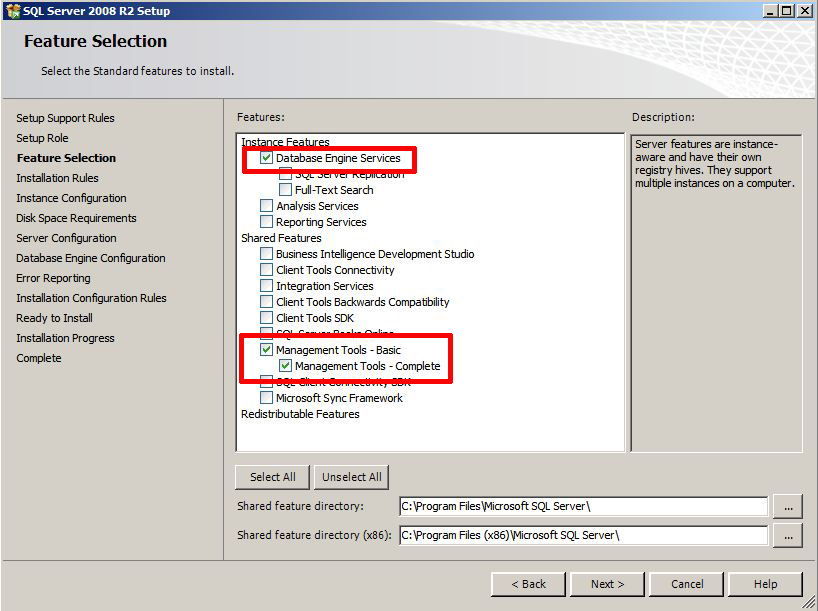
3. Tick Database Engine Services > Tick Management Tools (Basic and Complete) > Next.
4. Next > Accept the defaults > Next > Next.
5. On the Server configuration Page > Select "Use the same
account for all SQL Server services > Select the User you created
originally (sqladmin) > Set the SQL Server Agent and SQL Server
Database Engine Startup type to "Automatic" > Next.
6. Accept "Windows Authentication" > Add in your SCCM-ADMIN
group and SQL-ADMIN group > Next > Next > Next > Install.
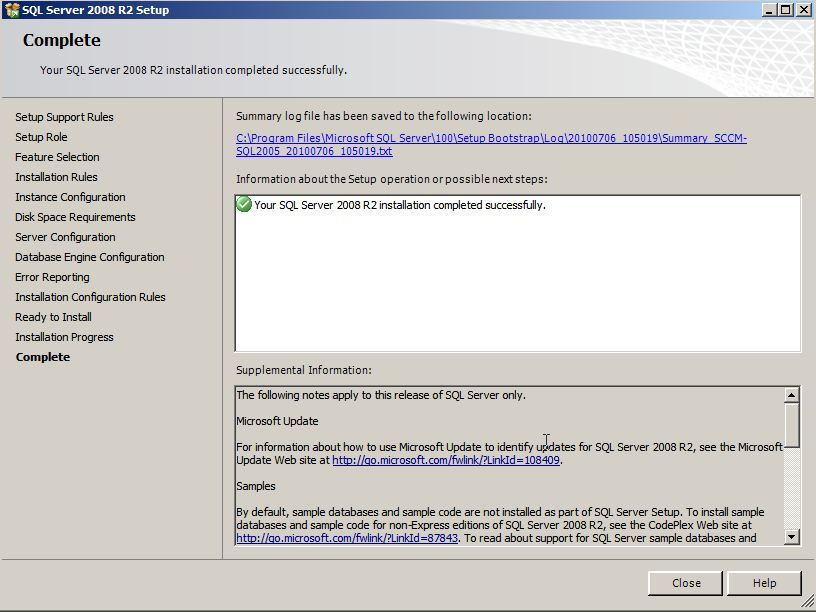
7. When it's completed click close.
Step 4: Prepare Active Directory for SCCM
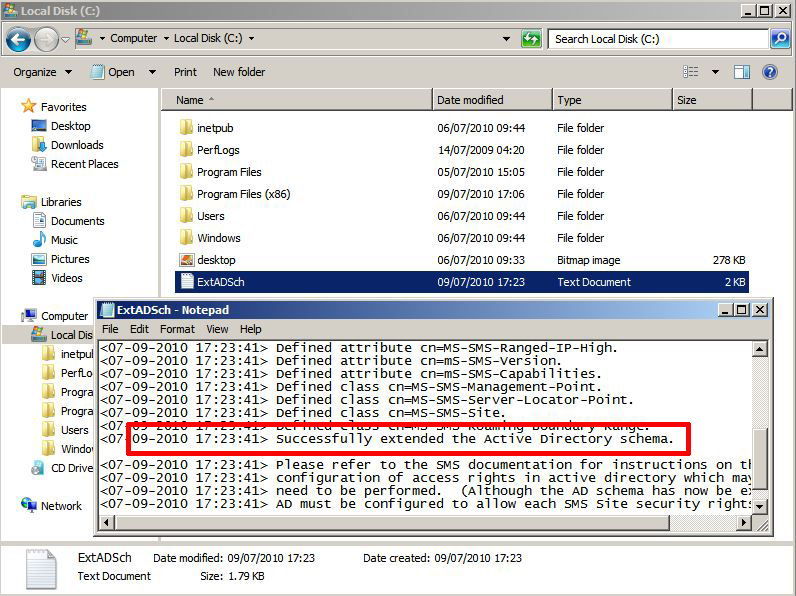
1. Extend the schema > From the install media > SMSSETUP > BIN > 1386 > extadsch.exe
2. Check the above was successful by opening the c:\extADsch.txt
file it should say ""successfully extended the Active Directory Schema".
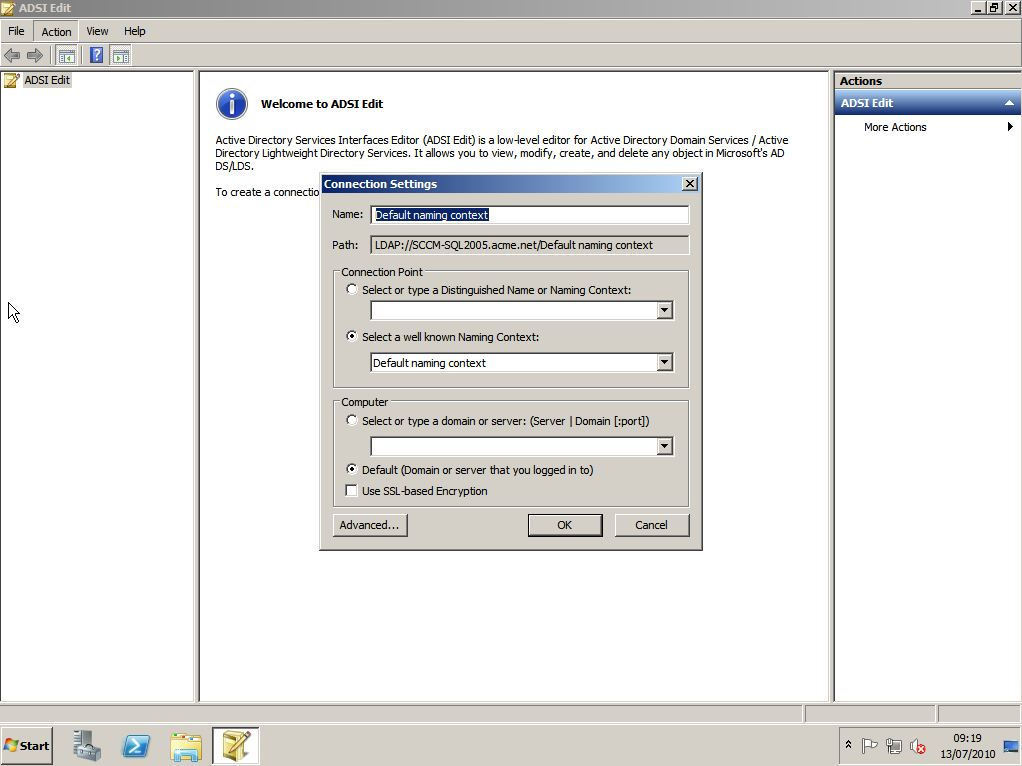
3. We now need to create some active directory objects go to a
domain controller > Start > Administrative tools > ADSI Edit
> Action > connect to > leave everything on its defaults >
OK.
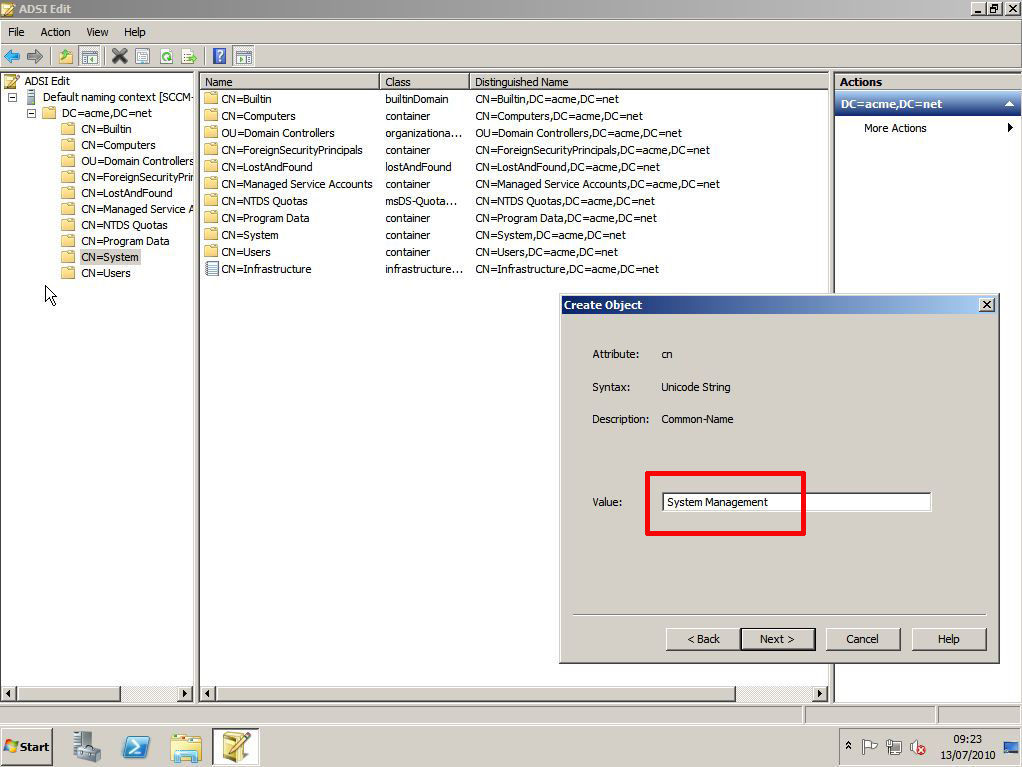
4. Expand the Default naming context > Expand your domain name
> Right click "system" > New > Object > Container >
Next.
5. Call it "System Management" > Next > Finish > Close ADSI Edit.
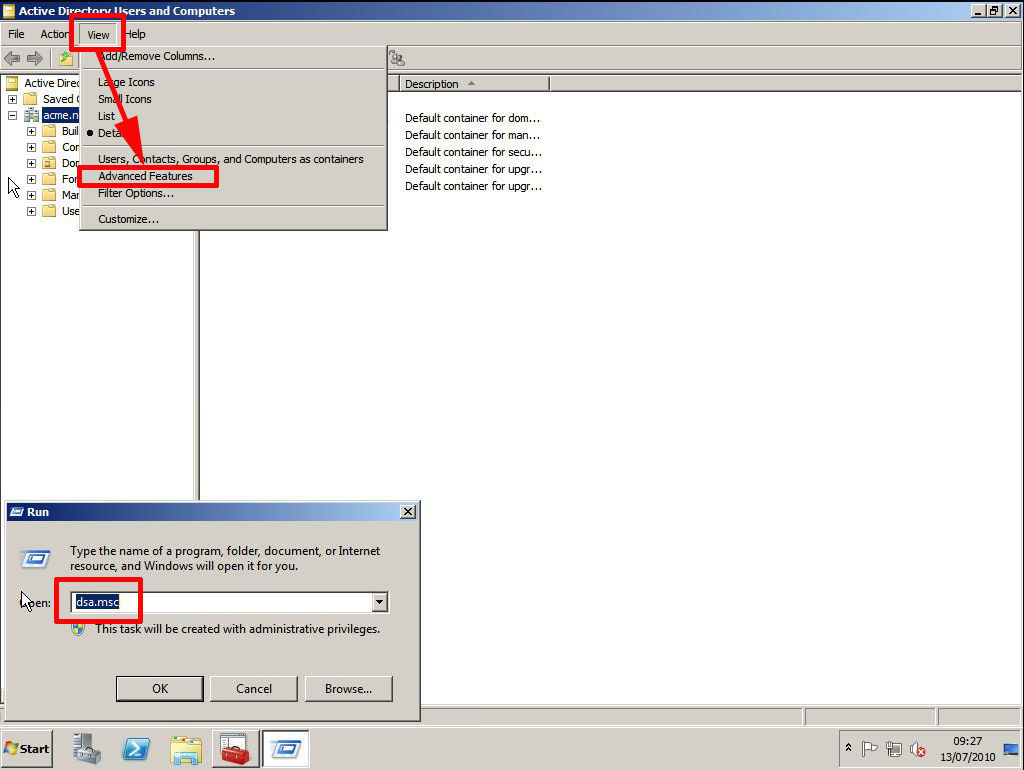
6. Still on the domain controller > Start > dsa.msc {enter} > View > Advanced.
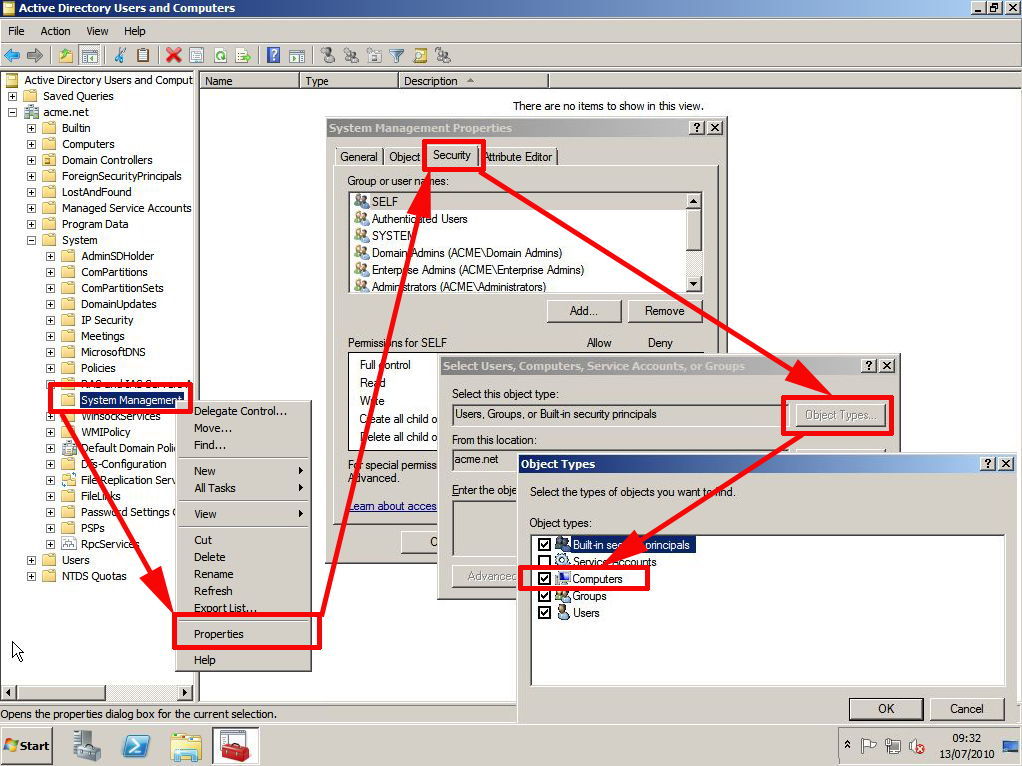
7. Expand "system" > Locate the container you created "System
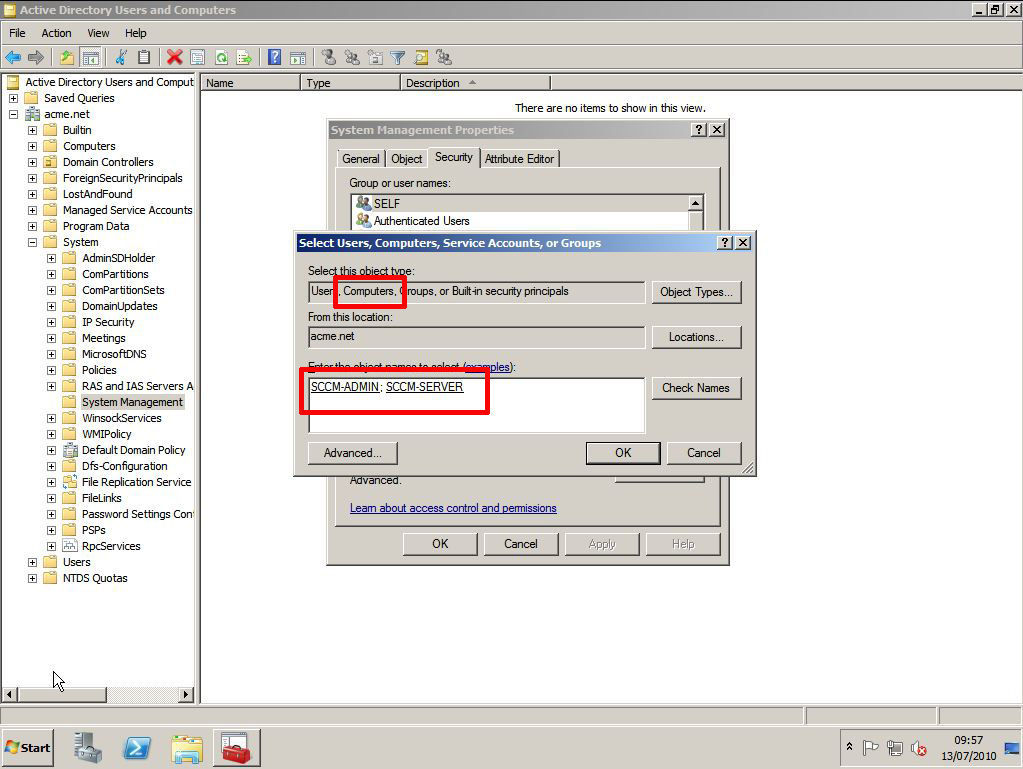
Management" > right click it and select properties > Security Tab
> Add > Object Types > Tick Computers > OK.
8. Click Advanced > Find Now > Locate and add the
SCCM-ADMIN group you created earlier > Also add the SCCM Server
itself > OK.
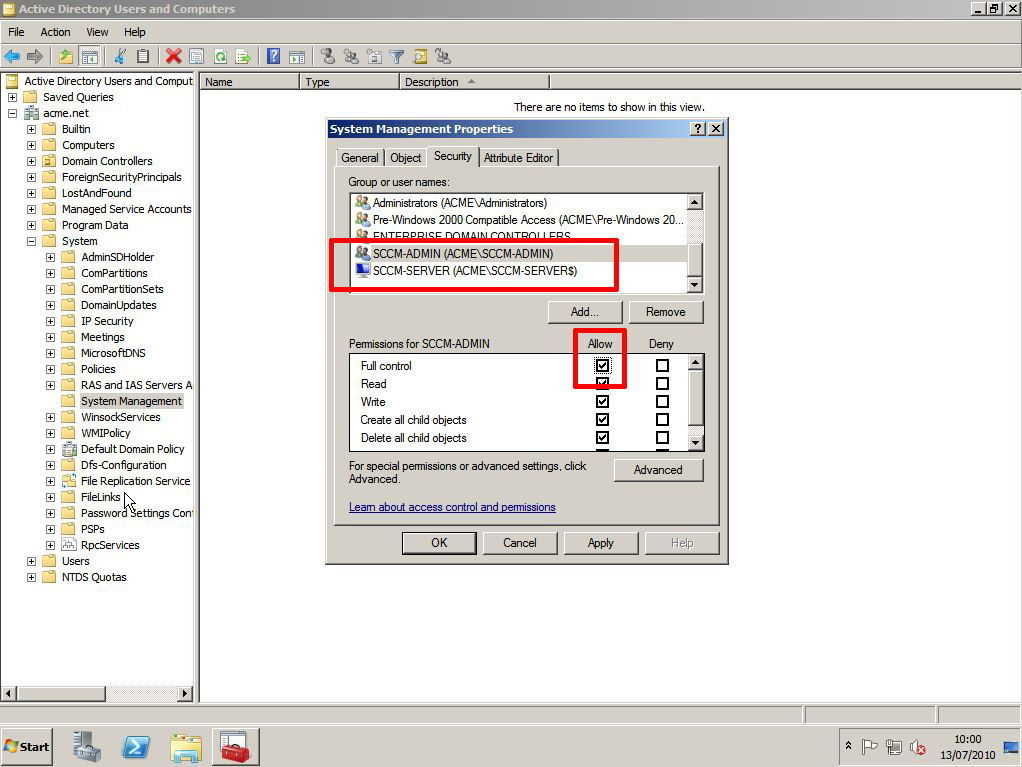
9. Grant allow "Full Control" to both the SCCM admin group and the SCCMserver.
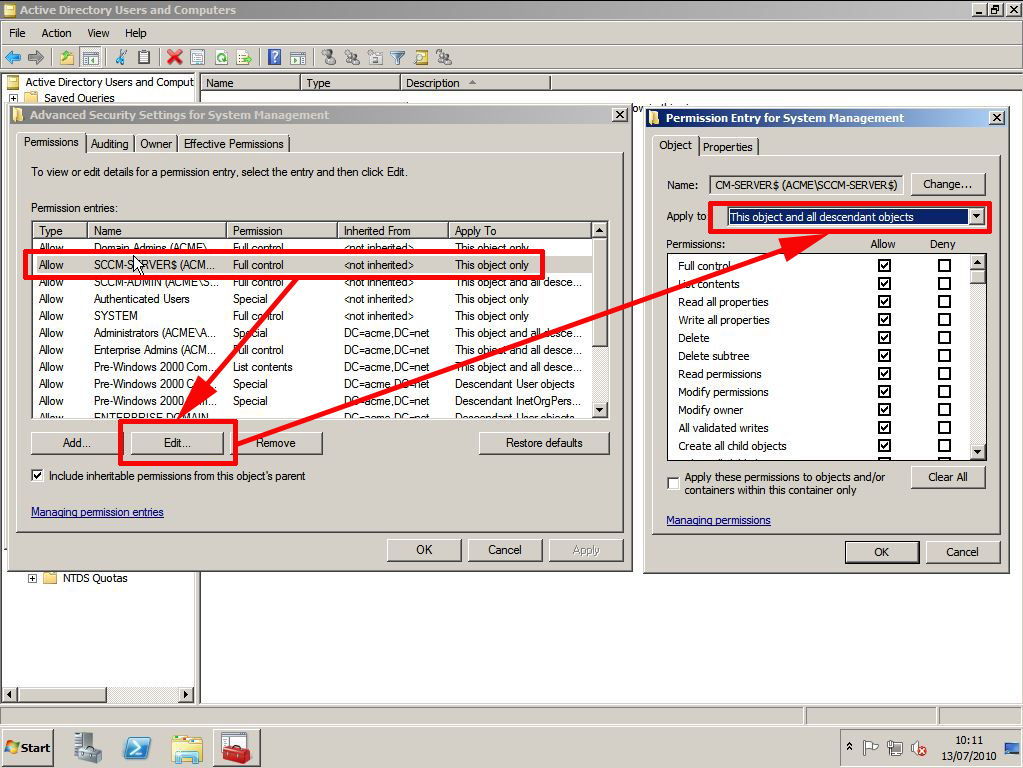
10. Now click advanced > Select the SCCM-ADMIN group > Edit.
11. Change the "Apply to" section from "This object only" to
"This object and all descendant objects" > OK > Apply > OK.
12. Repeat the above for the SCCM-Server object.
Step 5: Install SCCM
1. Log on as the sccadmin user.
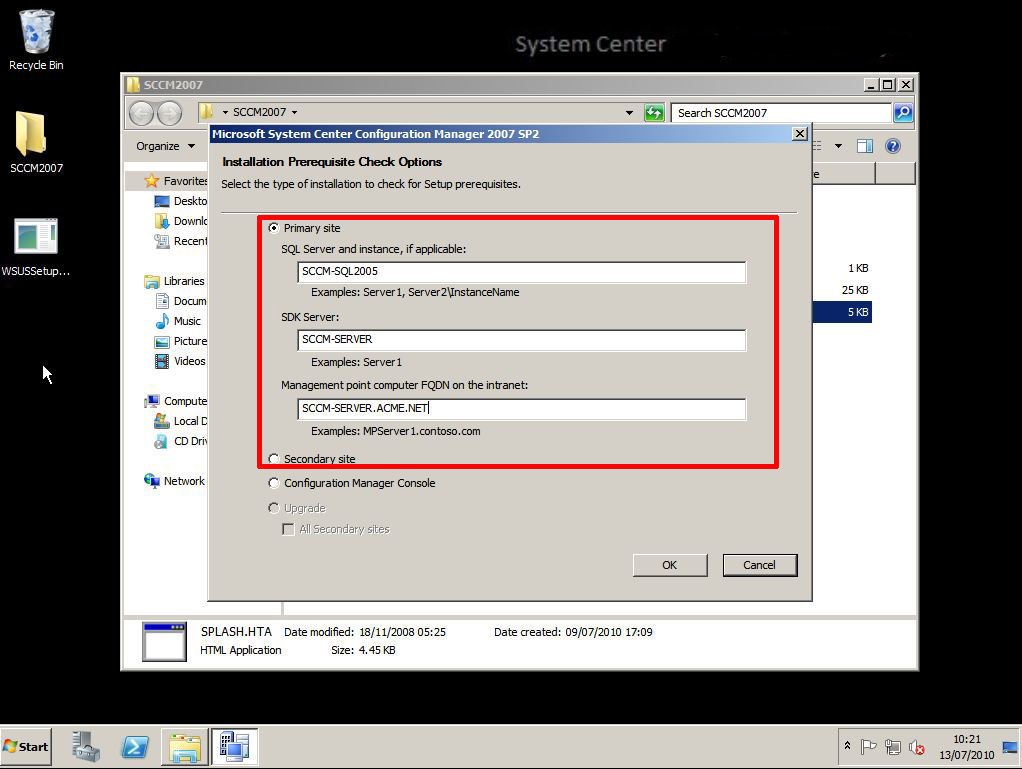
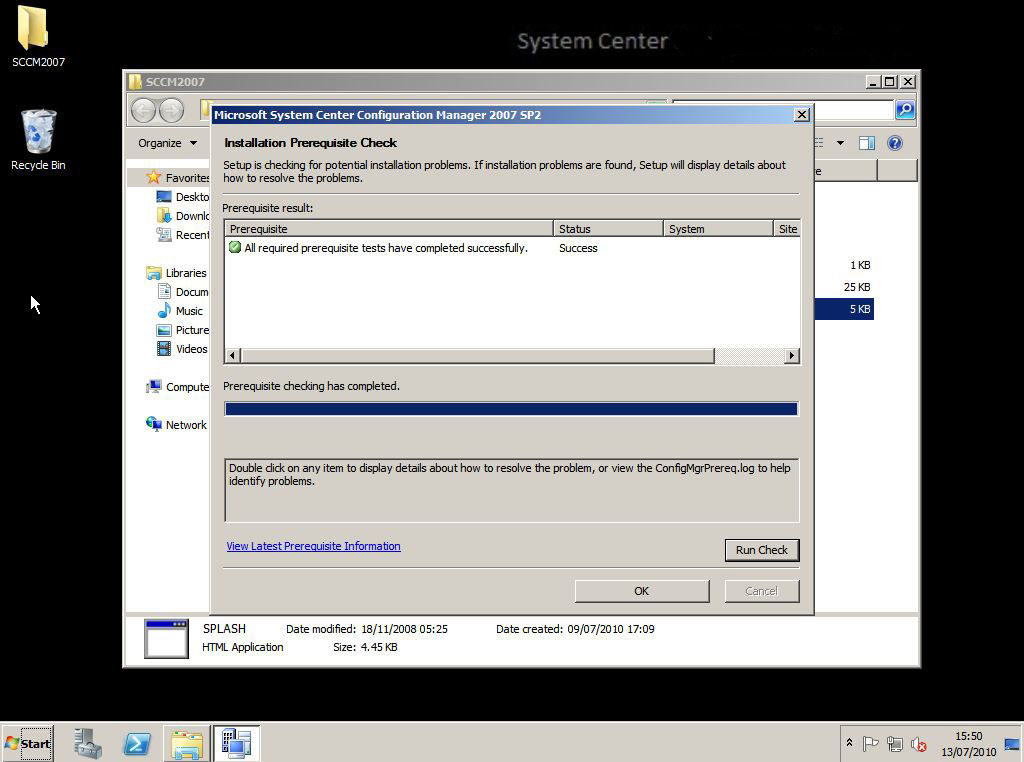
2. From within the SCCM setup media run splash.hta > Run the
Pre requisite checker > Enter the SQL Server name > SCCM server
name and the FQDN of the SCCM server > OK.
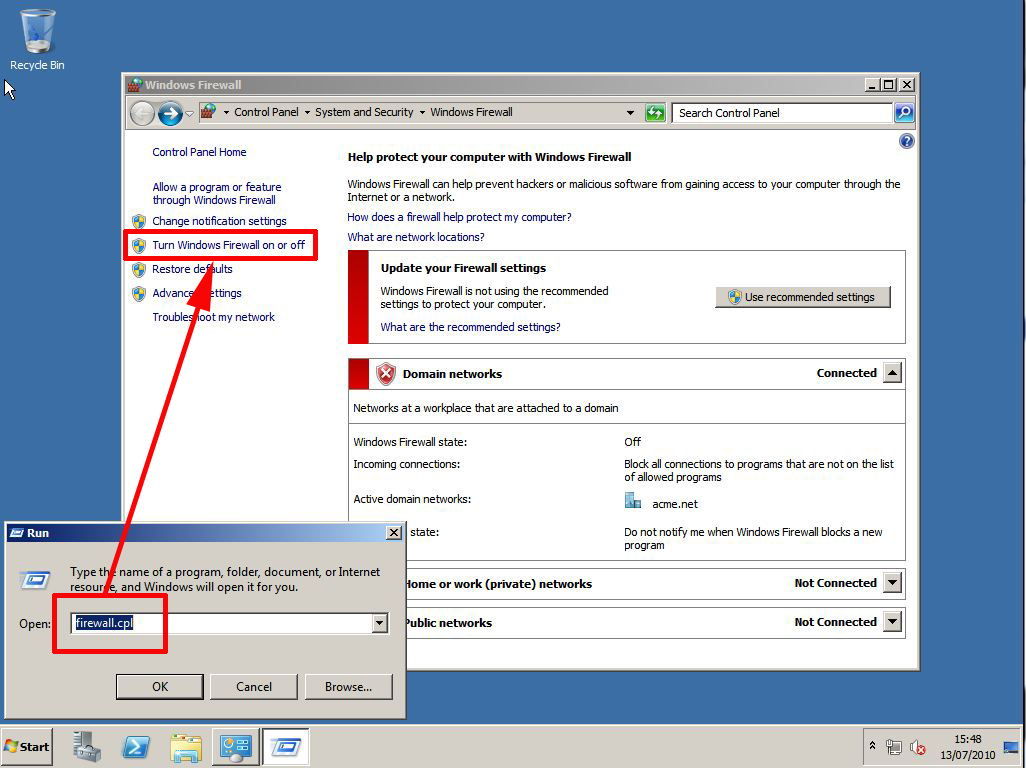
3.
Note If you cannot talk to the SQL server
then check that the Windows firewall is not blocking you (on the SQL
server Start > run > firewall.cpl > Turn it off).
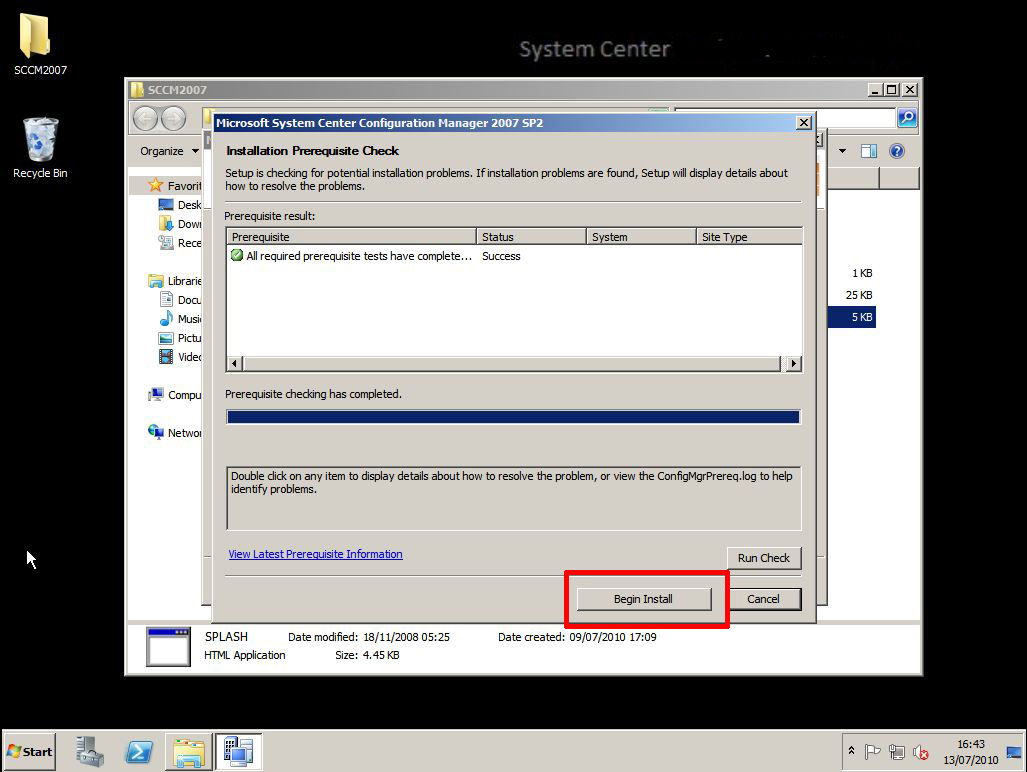
4. All being well it should say "All required pre requisite tests have completed successfully" > OK.
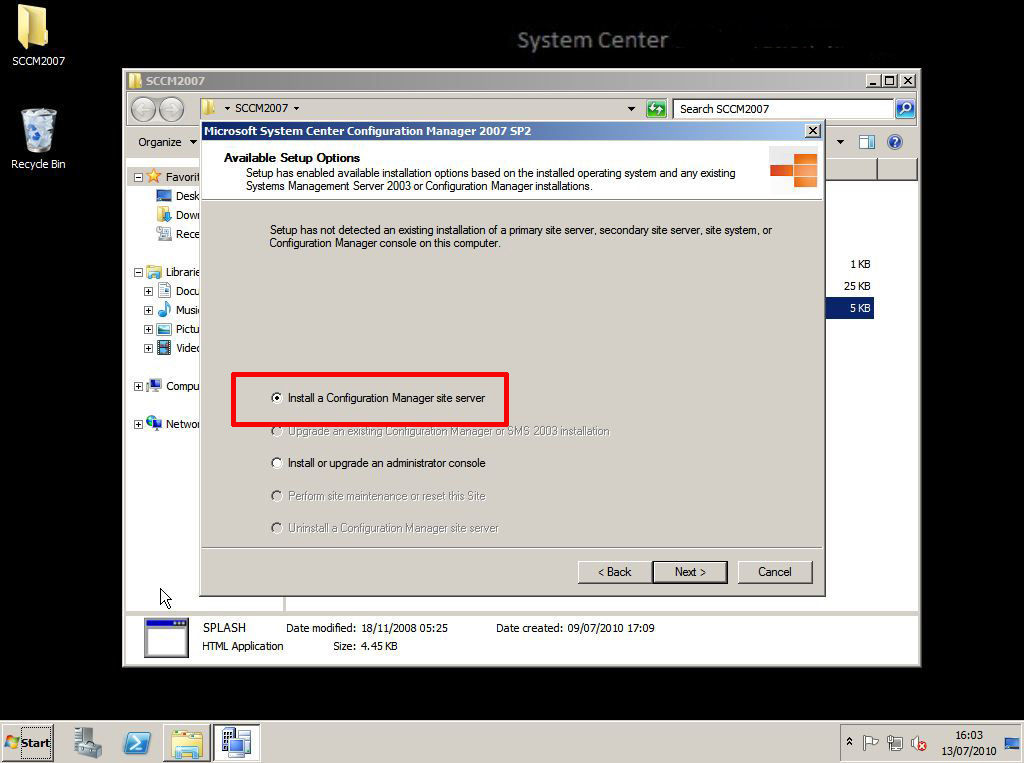
5. Re-run Splash.hta > This time choose > Install
configuration Manager 2007 SP2 > Next > "Install Configuration
Manager site Server > Next.
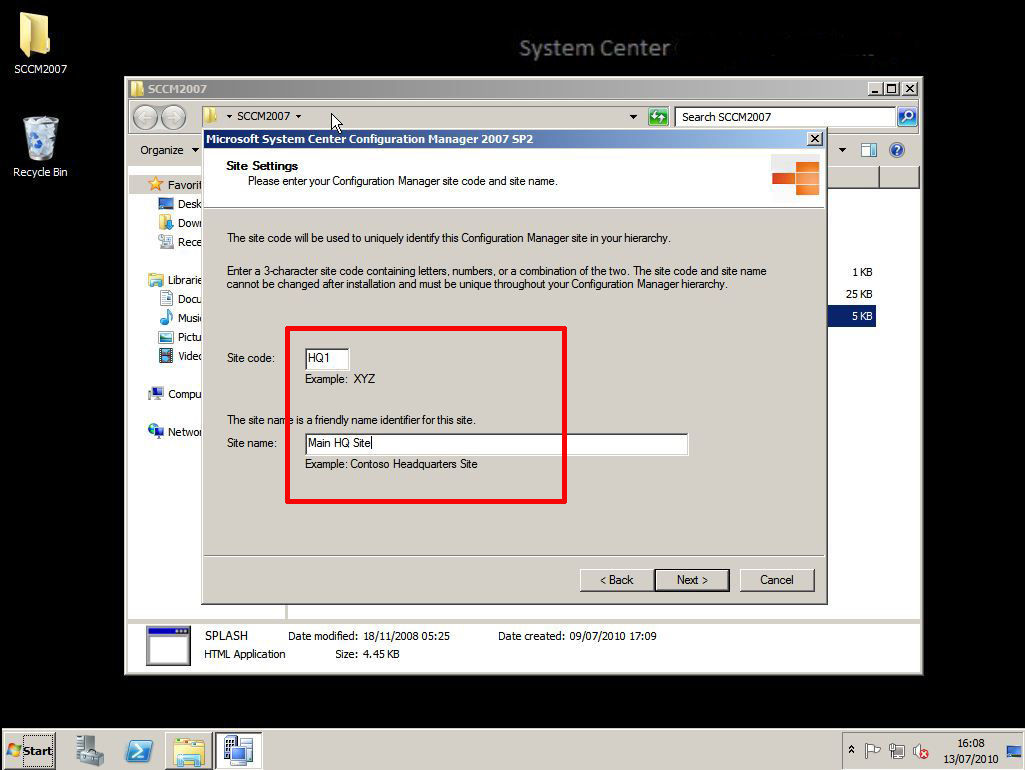
6. Tick "I accept these License terms > Next > Custom
Install > Next > Primary Site > Next > Next > enter
unlock code is applicable > Next > Accept/change the install
directory > Next > Enter a Site code and friendly name > Next.
DO NOT ever try and change this code and
don't forget it!!
7. Change the Site mode to "Configuration Manager Mixed Mode"
(Native mode requires certificate services and considerably more work).
> Next.
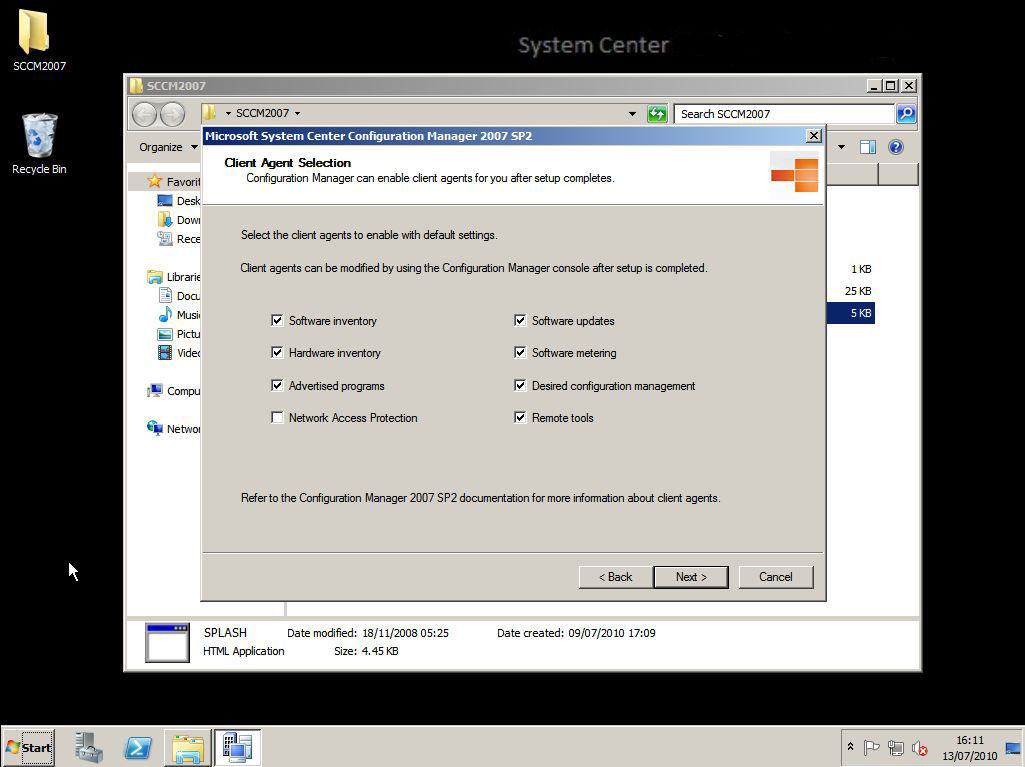
8. Accept the defaults (everything except NAP) > Next.
9. Enter your SQL server name > Next > Next > Next > Next > Next.
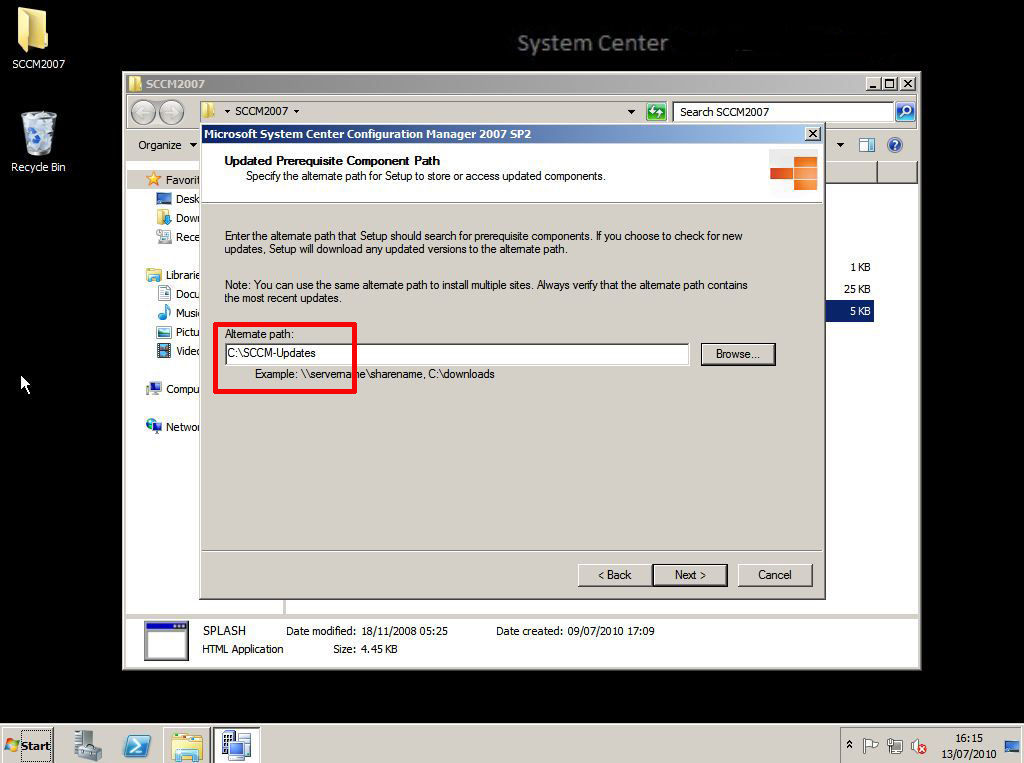
10. Select a location to install the updates to > Next.
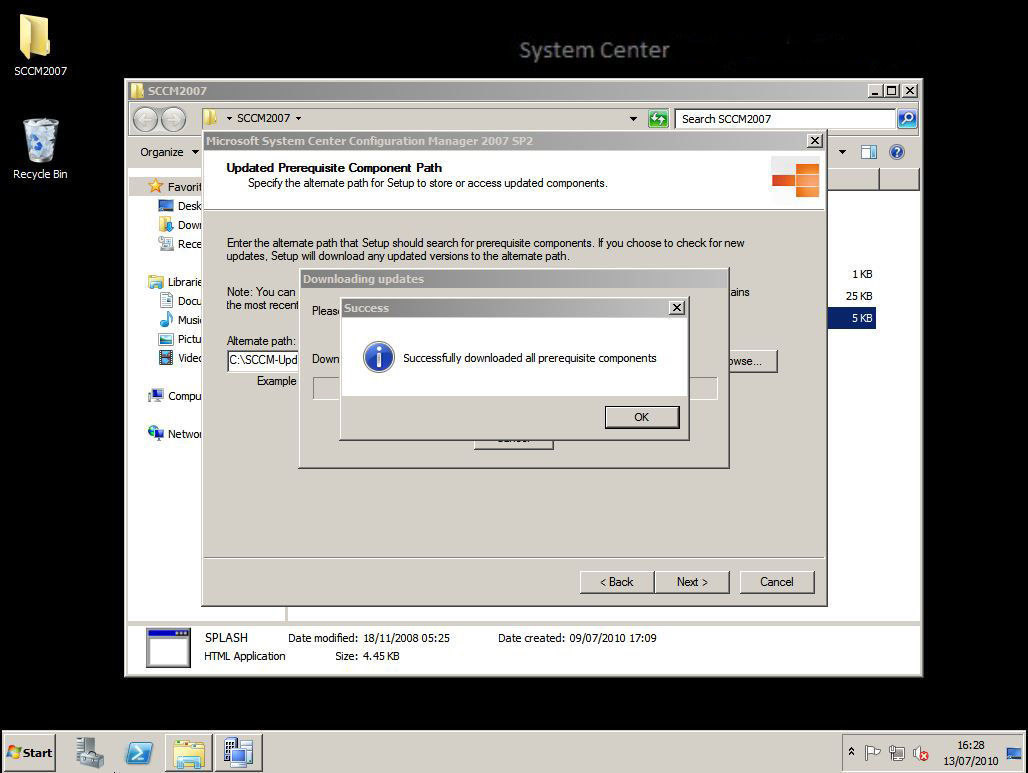
11. Updates will download this may take some time > when finished it should say it was successful > OK > Next.
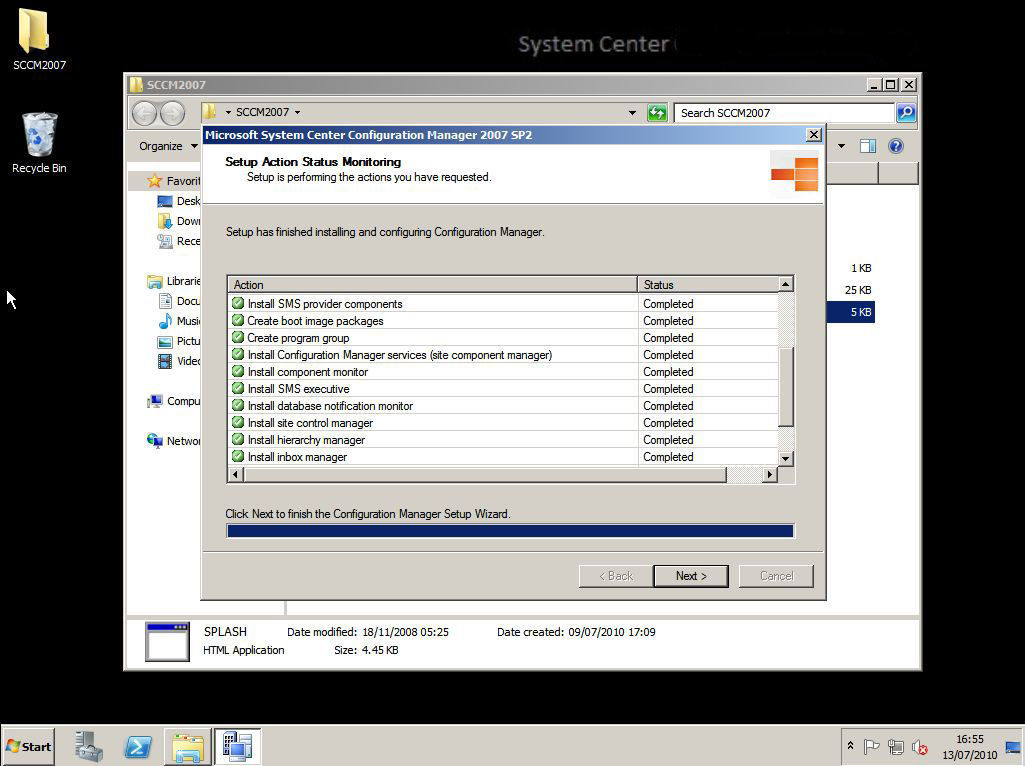
12. It will run the pre requisite check again > when finished click begin install.
13. When finished click Next > Finish.
14.
Now you need to send out the clients and configure SCCM, I'll cover that in a
later article.