This is the post where we can find some useful details about removal
or uninstallation or deletion of Site server (s) rather Decommission of
sites and Hierarchies
Also, we’re going to discuss about the difference between the options Uninstall and Delete (Secondary site/s).
We will be able to REUSE the site code of secondary server/s if is no longer in use in your Configuration Manager hierarchy or in the Active Directory forest. However, Site codes cannot be used more than one time in a ConfigMgr hierarchy for a CAS or primary sites. If you reuse a site code, you run the risk of having object ID conflicts in your ConfigMgr hierarchy.
When we want to remove entire SCCM/ConfigMgr hierarchy with lot of site servers (primary and secondary etc..), we’ve to follow bottom up approach. That means, Remove secondary sites attached to primary sites, primary sites from the central administration site (CAS), and then the central administration site (CAS) itself.
More Details on decommission of sites and Hierarchies through TechNet.

2. There are two options in uninstallation wizard.
When you uninstall a secondary site, this action uninstalls ConfigMgr from the secondary site server and then deletes all information about the site and its resources from the ConfigMgr hierarchy.
- A site has failed to install
- The site remains visible in the ConfigMgr console after you’ve uninstalled it.
When you delete a secondary site, this action deletes information about the secondary site and it’s resources from the ConfigMgr hierarchy and leaves ConfigMgr installed on the secondary site sever.


2. Select “Uninstall a Configuration Manager Site” option.
When there is a secondary site attached to the primary site, we must remove the secondary site before you can uninstall the primary site. Otherwise it won’t allow you to proceed with uninstallation.
When there is a primary site attached to the central administration site (CAS), we must uninstall the primary site before you can uninstall the central administration site..

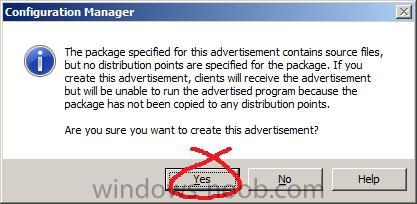
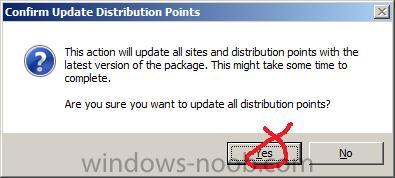
3. Click Yes and Next

4. We can verify the ConfigMgrSetup.log file for more details about the uninstallation of the site.

5. Review the ConfigMgrSetup.log file to check whether Uninstallation has been completed successfully or not.

Also, we’re going to discuss about the difference between the options Uninstall and Delete (Secondary site/s).
We will be able to REUSE the site code of secondary server/s if is no longer in use in your Configuration Manager hierarchy or in the Active Directory forest. However, Site codes cannot be used more than one time in a ConfigMgr hierarchy for a CAS or primary sites. If you reuse a site code, you run the risk of having object ID conflicts in your ConfigMgr hierarchy.
When we want to remove entire SCCM/ConfigMgr hierarchy with lot of site servers (primary and secondary etc..), we’ve to follow bottom up approach. That means, Remove secondary sites attached to primary sites, primary sites from the central administration site (CAS), and then the central administration site (CAS) itself.
More Details on decommission of sites and Hierarchies through TechNet.
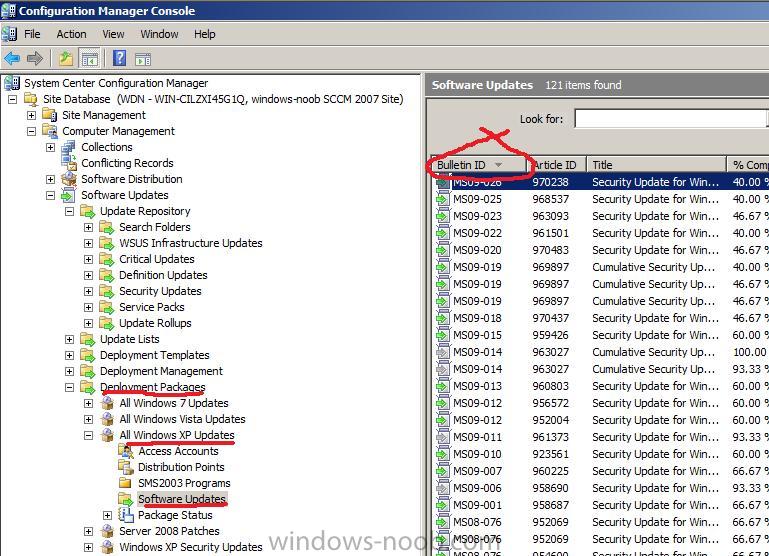
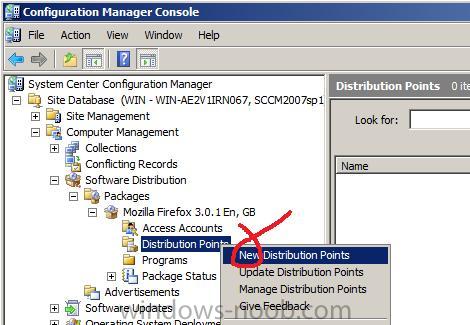
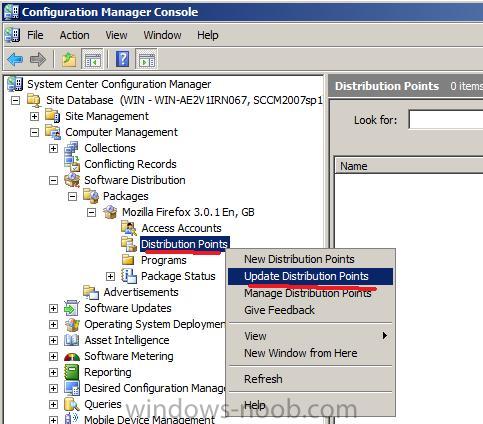
Uninstall/Remove/Decommission Secondary Site1. Go To Administration—> Site Configuration –> Sites, click on the secondary site that you want to delete and select the Delete option in the ribbon.

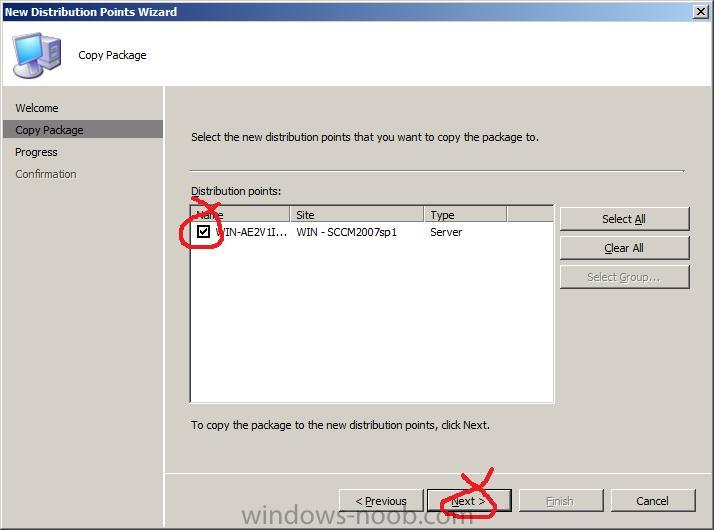
2. There are two options in uninstallation wizard.
a) Uninstall the secondary SiteUse the first option “Uninstall the secondary Site”, when you want to remove a functional secondary site that is accessible on the network.
When you uninstall a secondary site, this action uninstalls ConfigMgr from the secondary site server and then deletes all information about the site and its resources from the ConfigMgr hierarchy.
b) Delete the secondary SiteUse Delete the secondary Site option if one of the following condition is true:
- A site has failed to install
- The site remains visible in the ConfigMgr console after you’ve uninstalled it.
When you delete a secondary site, this action deletes information about the secondary site and it’s resources from the ConfigMgr hierarchy and leaves ConfigMgr installed on the secondary site sever.

Uninstall/Remove/Decommission Primary or CAS site1. Login to the primary or CAS server and Click Configuration Manager Setup from the Start menu

2. Select “Uninstall a Configuration Manager Site” option.
When there is a secondary site attached to the primary site, we must remove the secondary site before you can uninstall the primary site. Otherwise it won’t allow you to proceed with uninstallation.
When there is a primary site attached to the central administration site (CAS), we must uninstall the primary site before you can uninstall the central administration site..

3. Click Yes and Next

4. We can verify the ConfigMgrSetup.log file for more details about the uninstallation of the site.
INFO: Uninstallation the CAS site
INFO: Configuration Manager Setup – Uninstallation
INFO: Entering THREAD_Deinstall

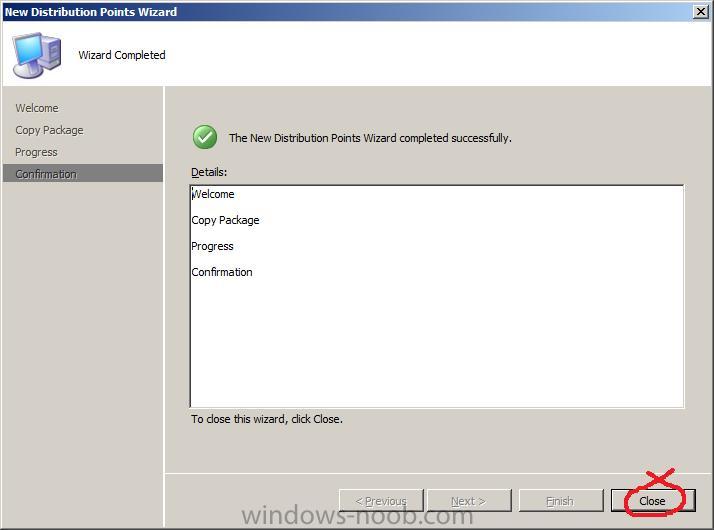
5. Review the ConfigMgrSetup.log file to check whether Uninstallation has been completed successfully or not.
INFO: Completed the uninstall of the Configuration Manager Site